
Here you will learn some explanations about the Configuration section which is part of the Push Campaign feature. There will be two settings here, namely settings for push campaign icons and set opt-in, then settings for Web Push installation.
Configuration
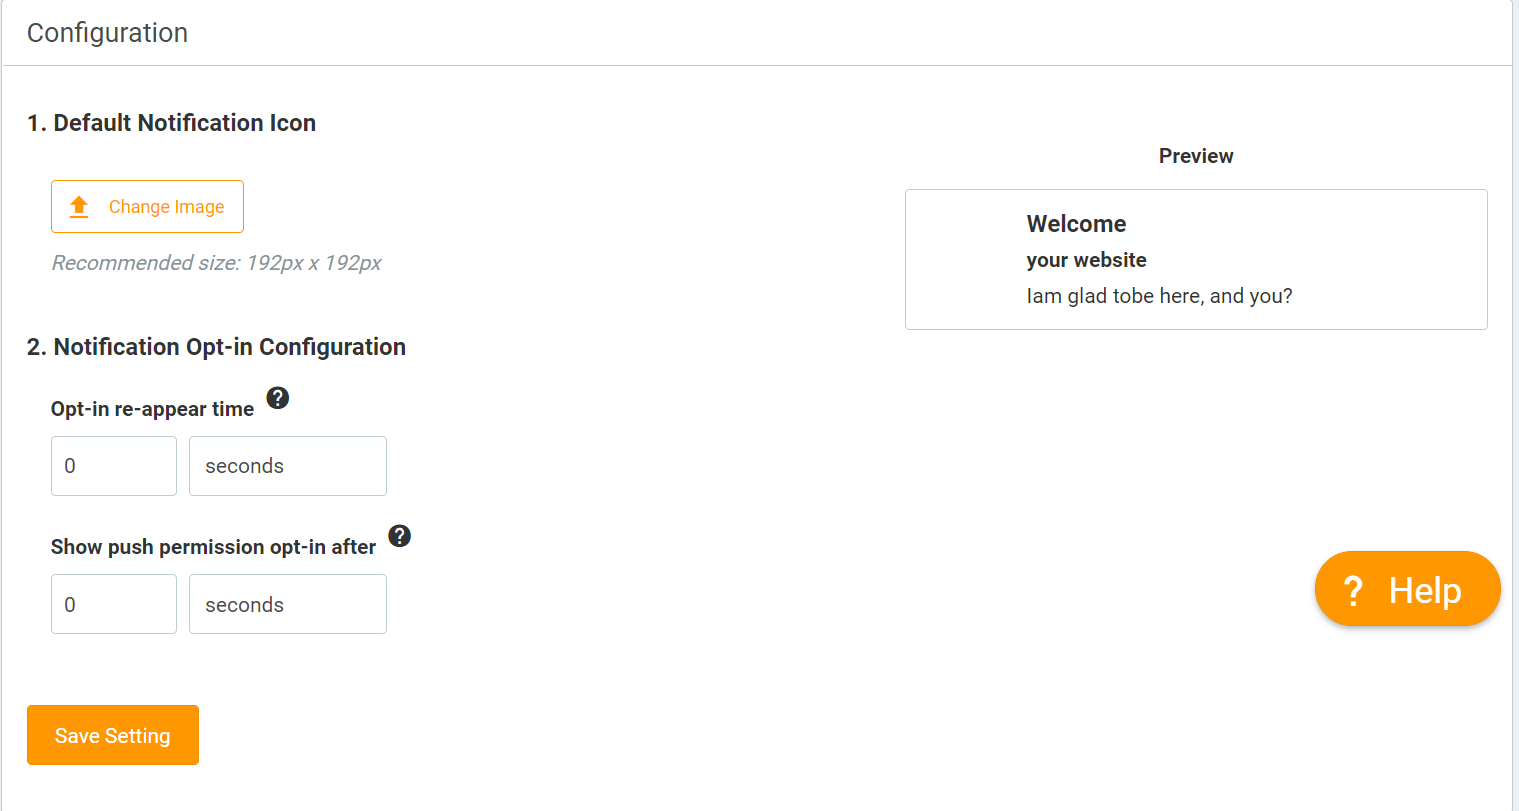
In this section, you can set two things. First, the icon in the push notification, and second is setting the opt-in time.
Notification Icon
Here you can change the notification icon that will appear when you send push notifications through the push campaign. Make sure the pixel size of the image you will use is 192x192.
Set Opt-in Time
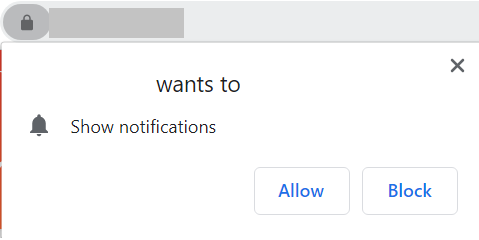
Previously. it is important to understand that this opt-in is a notification that appears when web visitors access your website for approval whether the visitor agrees to receive push notifications. As an example image below:
There are two settings you can do here "Opt-in Re-Appear Time" and "Show Push Permission Opt-in After".
Opt-in Re-Appear Time: Setting for the time the opt-in reappears for the second time, and so on. So you can set the time interval from the first opt-in appearance. You can choose in terms of seconds, minutes, or hours.
Show Push Permission Opt-in After: Settings to display the first opt-in when visitors visit your website. Here you can only select the time in seconds to display the opt-in.
Web Activation
Here you will do activation on the website or Landing Page that you have created. For how to activate it on your own website, you can read here for a more complete tutorial.
If you want to activate opt-in on the Landing Page, you only need to activate the switch button in the "On Your Landing Page" section. Once activated, the opt-in will also appear on your Page.